DesignCad
- Started
- What's New V.4.7
- Getting Started
- Home Screen
- Dxf Send/Receive
- Model Design
- Point Operations
- Grading
- Pieces Operations
- Plot Piece
- Print Piece
- Measurement
- Sewing Processes
- Dart/Pleat Operations
- Internal Shape / Internal Point
- Marker Operations
- Marker Print
- Super Marker
- Technical Card Operations
- Cost
- Plot Marker
- Options
General
It is the tab where the license information of the company using the DesignCad software is stored, and where the language, display, and library settings are configured.
All pages are opened from the File menu using the Options ![]() icon.
icon.
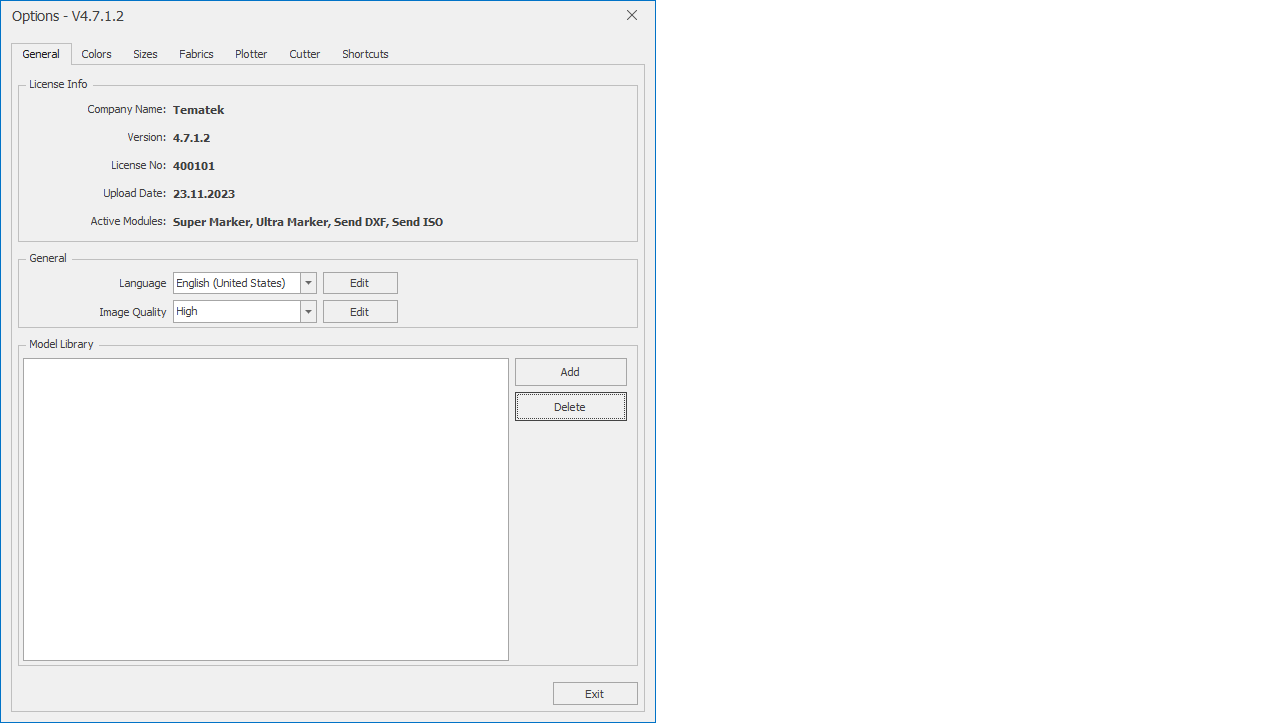
In the License Info section, the company name where the DesignCad software is installed, the version, the license number, the installation date, and the active modules belonging to this license are displayed.

For licensing procedures, see the License Activation section.
In the General section, the language and display quality settings are configured.

From the Language Selection box, the desired language is selected. Click the arrow button next to the box to open the window, choose the desired language, and apply it with the Change button.
From the Image Quality box, the line quality for the pattern design screen is selected. Click the arrow button next to the box to open the window, choose the desired display level, and apply it with the Change button.
In the Model Library section, the path of the DesignCad libraries to be used is selected.
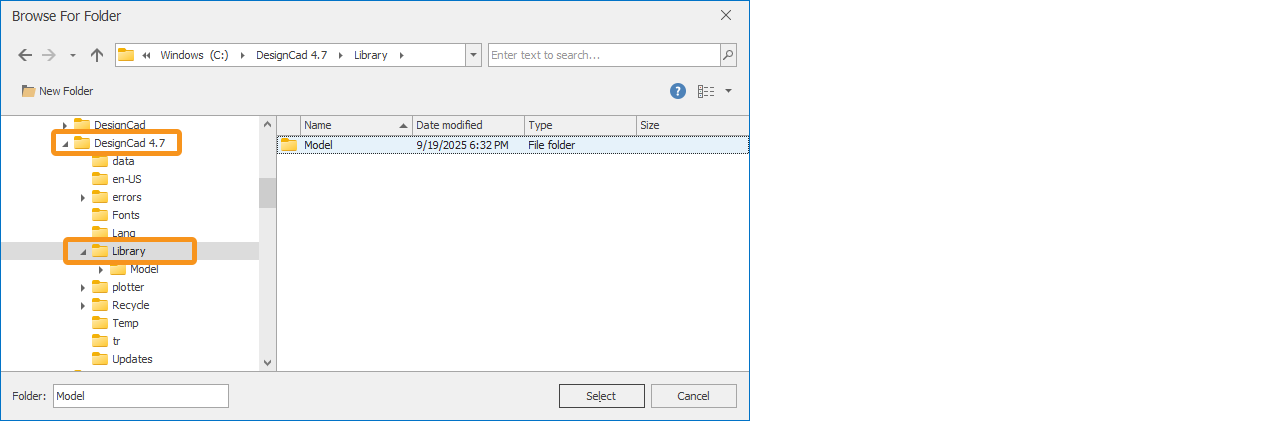
In the Model Library section, click the Add button.

From the opened window, the DesignCad library path is selected and the Select button is clicked. (During the initial installation, C:\DesignCad 4.7\Library\Model is set as the default library.)
If desired, a new name can be given to the library from the opened window and confirmed with the Ok button.

If desired, a new name can be given to the library from the opened window and confirmed with the Ok button.
The added library path appears in the Model Library section. If needed, more than one library can be added to the Model Library.
In cases where multiple screens are used, the main library path must be defined through the network. When introducing a different library via the network, the computer where the library is configured must be running first.

The added model libraries can later be selected from this section and deleted using the Delete button. (Deleting the library path does not delete the model files.)

The page is closed with the Exit button at the bottom.