DesignCad
- Started
- What's New V.4.7
- Getting Started
- Home Screen
- Dxf Send/Receive
- Model Design
- Point Operations
- Grading
- Pieces Operations
- Plot Piece
- Print Piece
- Measurement
- Sewing Processes
- Dart/Pleat Operations
- Internal Shape / Internal Point
- Marker Operations
- Marker Print
- Super Marker
- Technical Card Operations
- Cost
- Plot Marker
- Options
Marker Parameters
Change Precise Rotation
Used in the Marker screen to rotate a piece clockwise or counterclockwise by the entered angle value.
1.) In the Marker screen, click Parameters > Change Precise Rotation ![]()

2.) In the window that opens, enter the desired angle value. (The default value is 1°.)
3.) In the Marker screen, select the piece to be rotated.
4.) Use the keyboard to rotate the piece: press F4 to rotate counterclockwise, or F5 to rotate clockwise by the entered angle value.
Change Rotation Angle
Used in the Marker screen to rotate a piece clockwise or counterclockwise by the entered angle value.
![]() The rotation process is similar to Precise Rotation, but it allows the user to rotate using a second angle value.
The rotation process is similar to Precise Rotation, but it allows the user to rotate using a second angle value.
1.) In the Marker screen, click Parameters > Change Rotation Angle ![]()

2.) In the window that opens, enter the desired angle value. (The default value is 90°.)
3.) In the Marker screen, select the piece to be rotated.
4.) Press the F2 key on the keyboard to rotate the piece clockwise by the entered angle value.
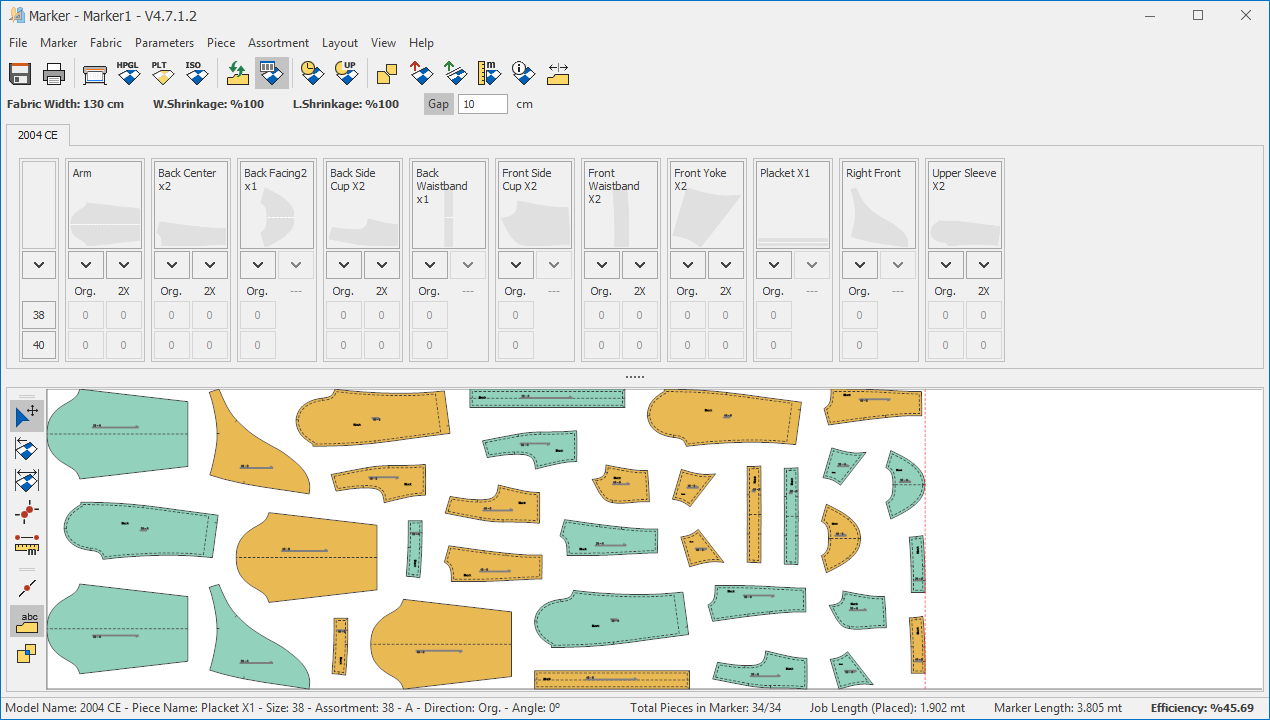
Change Gap Value
In the Marker screen, this function is used to enter the gap value to be applied between two pieces during manual placement.
The gap between two pieces cannot be smaller than the entered value.
1.) In the Marker screen, click Parameters > Change Gap Value ![]()

2.) In the window that opens, enter the desired gap value between the pieces and confirm with Ok.

If desired, click the Gap button in the top menu of the Marker screen and enter a value in the box on the right to set the gap. ![]()
During manual marker placement, the specified gap value will be maintained between the pieces.
![]() To end the gap setting process, click the Gap button again, and the function will be deactivated.
To end the gap setting process, click the Gap button again, and the function will be deactivated. ![]()
Cutting Allowance
During marker placement (automatic or manual), this function is used to enter the margin value (cutting allowance) for the frame around grouped pieces.
1.) In the Marker screen, click Parameters > Cutting Allowance ![]()

2.) In the window that opens, enter the cutting allowance value and confirm with Ok. (For example: 10 cm)

Select the pieces to be grouped with the left mouse button, then click Piece > Add/Remove Cutting Allowance. (Keyboard shortcut: F12)