DesignCad
- Started
- What's New V.4.7
- Getting Started
- Home Screen
- Dxf Send/Receive
- Model Design
- Point Operations
- Grading
- Pieces Operations
- Plot Piece
- Print Piece
- Measurement
- Sewing Processes
- Dart/Pleat Operations
- Internal Shape / Internal Point
- Marker Operations
- Marker Print
- Super Marker
- Technical Card Operations
- Cost
- Plot Marker
- Options
Curved Measurement
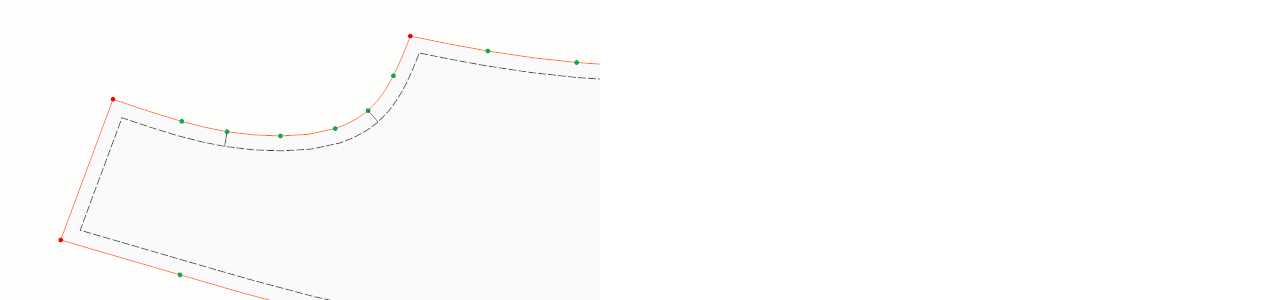
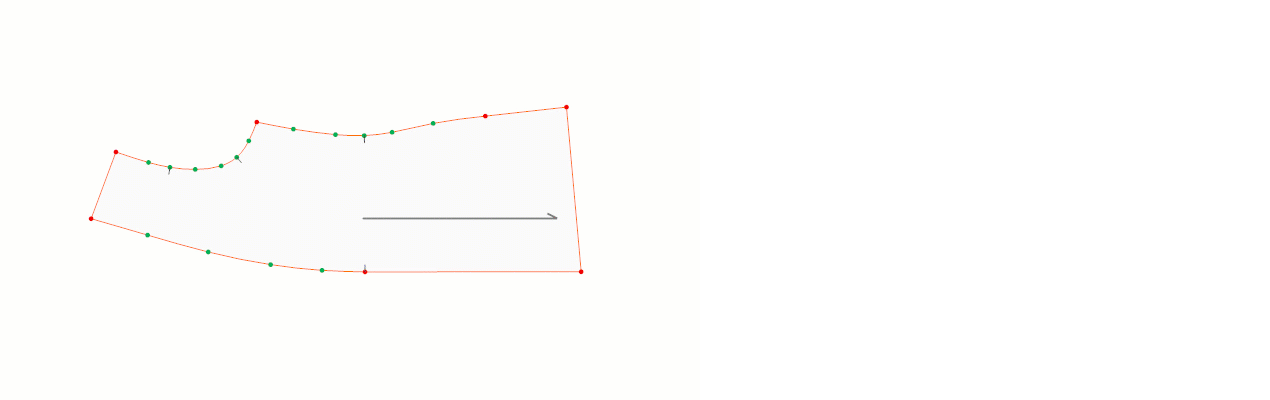
Follow the steps below to measure a curved line between two points. This measurement can be taken between points on a piece line or a seam line.
1.) In the Pattern Design screen, select Measure > Curved Measurement ![]()

2.) On the line to be measured, first select the starting point (1) and then the end point (2) in a clockwise direction using the Space key on the keyboard. (The selected line is highlighted in a different color.)
3.) In the window that opens, specify the target field (A or B) where the measurement value will be sent. The measurement value is displayed at the top of the measurement window.
4.) For the selected field (A or B), the measurement values for all sizes of the piece are displayed.
If the Size Difference box is checked, the grading differences between sizes are displayed.

To send the measurement to the model’s Technical Card, click the Technical Card button. (Click here for Technical Card Transfer Operations)

The result transferred to the Technical Card is saved using File > Save.
![]() With this method, seam lines can be measured as well as piece lines.
With this method, seam lines can be measured as well as piece lines.