Creating a New Piece
This is used to create a new piece in the Pattern Design screen. (A new piece can be created in four different ways.)

Rectangle
To create a new piece in a rectangular shape, follow these steps:
1.) In the Pattern Design screen, click New Piece > Rectangle ![]() from the Pieces menu.
from the Pieces menu.
2.) Hold down the left mouse button and draw a rectangle.
3.) When the mouse button is released, the Add New Piece window opens, allowing you to enter the width and height values of the rectangle.
In the Add New Piece window that opens, follow these steps:
- Enter the Piece Name (default is “New Piece”).
- Enter the X and Y length values of the piece.
- Direction selection determines the orientation the piece will have in the marker layout (for more details, see the “Piece Editing” section).
Orientation options:
- Org: The piece is used as drawn in the Pattern Design screen and placed as a single piece in the marker.
- Flip: The piece is placed in the marker rotated 180 degrees from its saved orientation in the Pattern Design screen.
- 2X: The piece is added twice to the marker, with a copy created along the X-axis.
- 2Y: The piece is added twice to the marker, with a copy created along the Y-axis.
- Click the arrow next to the Fabric section to open the list of fabrics added during the model creation stage, and assign the desired fabric to the piece.
4.) Click Ok to confirm.
Circle
This is used to create a new piece in a circular or oval shape.
1.) In the Pattern Design screen, click New Piece > Circle ![]() from the Pieces menu.
from the Pieces menu.
2.) Hold down the left mouse button and draw a circle.
3.) When the mouse button is released, the Add New Piece window opens, allowing you to enter the circle’s width and height, name, orientation, and fabric information.
In the window that opens:
- Enter the Piece Name (default is “New Piece”).
- Enter the X and Y length values of the circle (for a circle, X and Y values must be the same).
- Direction selection determines the orientation the piece will have in the marker layout (for more details, see the “Piece Editing” section).
Orientation options:
- Org: The piece is used as drawn in the Pattern Design screen and placed as a single piece in the marker.
- Flip: The piece is placed in the marker rotated 180 degrees from its saved orientation in the Pattern Design screen.
- 2X: The piece is added twice to the marker, with a copy created along the X-axis.
- 2Y: The piece is added twice to the marker, with a copy created along the Y-axis.
- Click the arrow next to the Fabric section to open the list of fabrics added during the model creation stage, and assign the desired fabric to the piece.
4.) Click Ok to confirm.
Free
This is used to create a new piece using freehand drawing.
1.) In the Pattern Design screen, click New Piece > Free ![]() from the Pieces menu.
from the Pieces menu.
2.) Start drawing clockwise using the left mouse button.
3.) Continue the drawing by adding corner points with the left mouse button and curve points with the right mouse button.
4.) Finish the drawing by pressing Enter on the keyboard (the start and end points will automatically connect). The Add New Piece window opens, allowing you to enter the piece name, orientation, and fabric information.

In the window that opens:
- Enter the Piece Name (default is “New Piece”).
- Direction selection determines the orientation the piece will have in the marker layout (for more details, see the “Piece Editing” section).
Orientation options:
- Org: The piece is used as drawn in the Pattern Design screen and placed as a single piece in the marker.
- Flip: The piece is placed in the marker rotated 180 degrees from its saved orientation in the Pattern Design screen.
- 2X: The piece is added twice to the marker, with a copy created along the X-axis.
- 2Y: The piece is added twice to the marker, with a copy created along the Y-axis.
- Click the arrow next to the Fabric section to open the list of fabrics added during the model creation stage, and assign the desired fabric to the piece.
4.) Click Ok to confirm.
![]() During drawing, parallel lines can be created along the X-axis or Y-axis using keyboard shortcut keys, and the Del key can be used to undo the last step.
During drawing, parallel lines can be created along the X-axis or Y-axis using keyboard shortcut keys, and the Del key can be used to undo the last step.
From Internal Shape
This is used to create a piece from a previously created and closed inner shape within a piece.
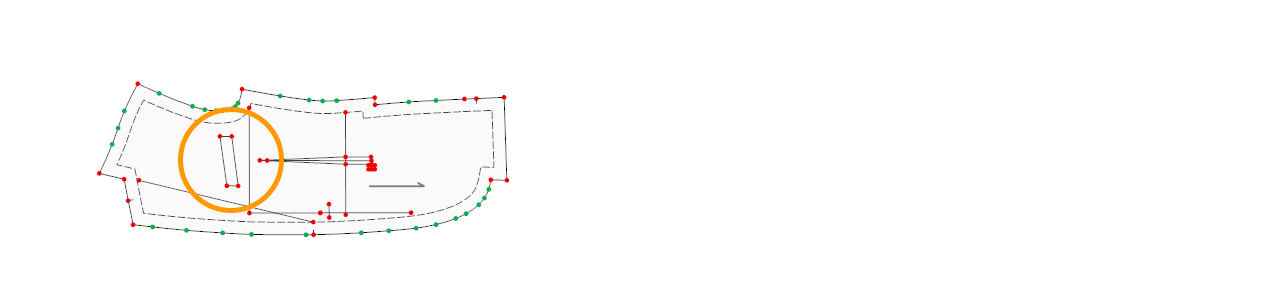
1.) In the Pattern Design screen, click New Piece > From Internal Shape ![]() from the Pieces menu.
from the Pieces menu.
2.) Click the inner shape within the piece.
3.) In the message “Do you want to keep the original internal shape?”, make the desired selection.

4.) Click Yes to keep the inner shape, or No to delete it.