DesignCad
- Started
- What's New V.4.7
- Getting Started
- Home Screen
- Dxf Send/Receive
- Model Design
- Point Operations
- Grading
- Pieces Operations
- Plot Piece
- Print Piece
- Measurement
- Sewing Processes
- Dart/Pleat Operations
- Internal Shape / Internal Point
- Marker Operations
- Marker Print
- Super Marker
- Technical Card Operations
- Cost
- Plot Marker
- Options
Manual Marker Layout
This function allows manual placement and adjustment of pieces in the Marker screen.
The Marker screen is divided into eight main sections.
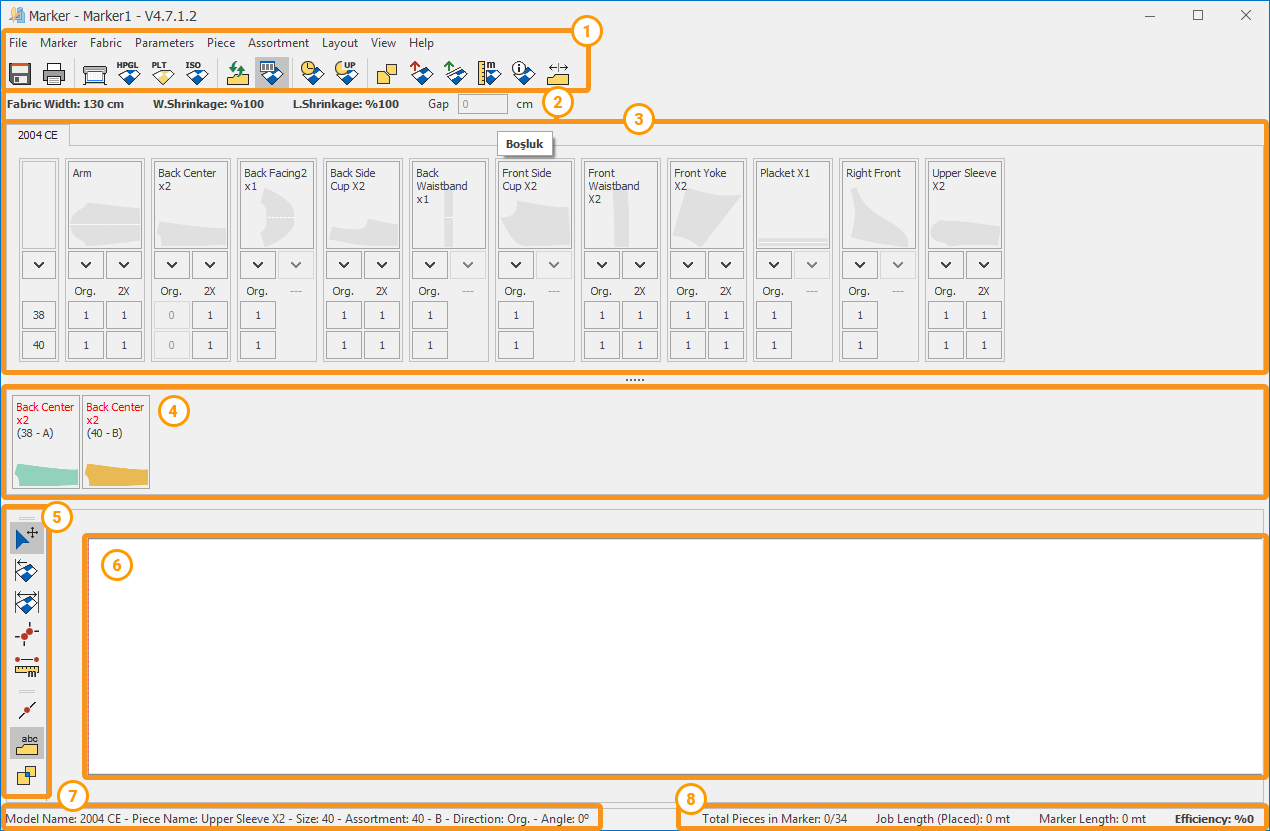
![]() Top Menu and Icons Section: Contains frequently used icons for operations. You can customize this section according to your working preferences.
Top Menu and Icons Section: Contains frequently used icons for operations. You can customize this section according to your working preferences.
![]() Information Bar: Displays the fabric width, shrink/stretch values in warp and weft directions, and the gap value between pieces.
Information Bar: Displays the fabric width, shrink/stretch values in warp and weft directions, and the gap value between pieces.
![]() Piece Bar: Shows the quantities of pieces included in the marker plan, listed by size and orientation.
Piece Bar: Shows the quantities of pieces included in the marker plan, listed by size and orientation.
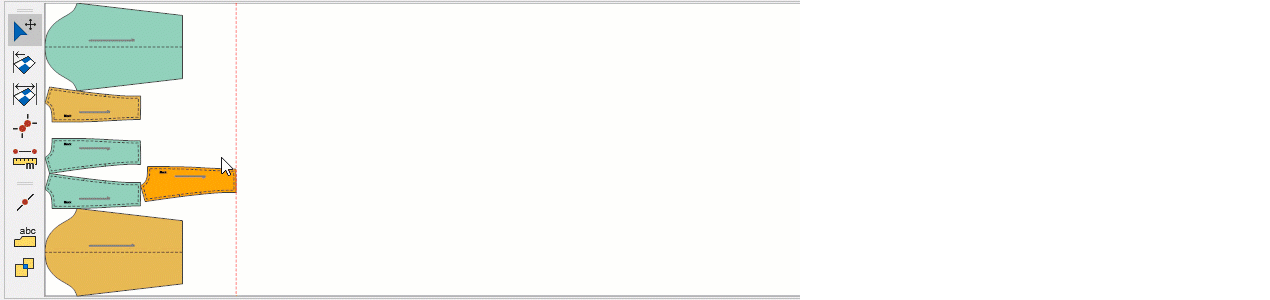
![]() Buffer Area: The area where pieces are placed before being moved into the marker layout.
Buffer Area: The area where pieces are placed before being moved into the marker layout.
![]() Marker Tools Section: Contains icons for operations related to pieces already placed in the marker area.
Marker Tools Section: Contains icons for operations related to pieces already placed in the marker area.
![]() Marker Area: The main working area where pieces are arranged on the fabric. It matches the fabric width and has infinite length.
Marker Area: The main working area where pieces are arranged on the fabric. It matches the fabric width and has infinite length.
![]() Piece Information Bar: Displays information about the selected piece in the marker area, including model name, piece name, size, orientation, and angle (if any).
Piece Information Bar: Displays information about the selected piece in the marker area, including model name, piece name, size, orientation, and angle (if any).
![]() Status Bar: Shows the total number of pieces placed, unit fabric length, marker length, and efficiency rate.
Status Bar: Shows the total number of pieces placed, unit fabric length, marker length, and efficiency rate.
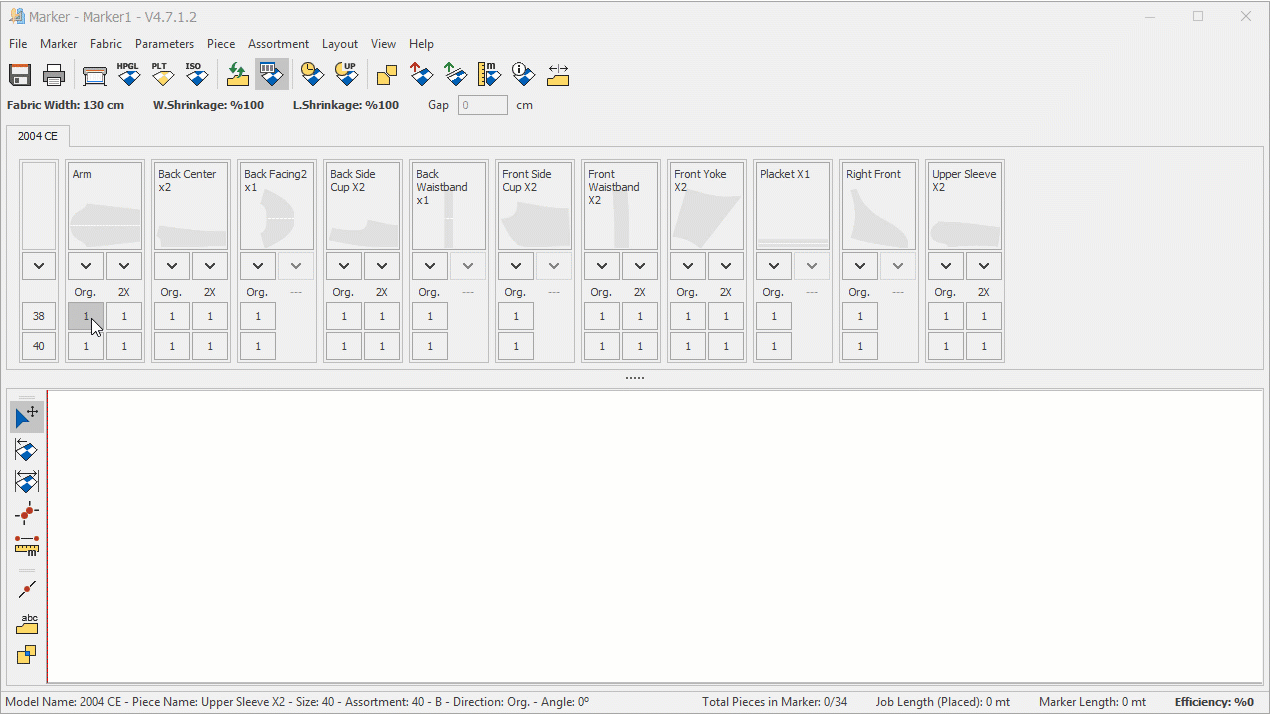
To place a piece into the marker area, click the quantity box of the piece in the Piece Information section, and the piece will be moved into the marker area.
Once a piece is placed into the marker area, it can be selected with the mouse and moved to the desired position in the marker area using either the keyboard arrow keys or the mouse.
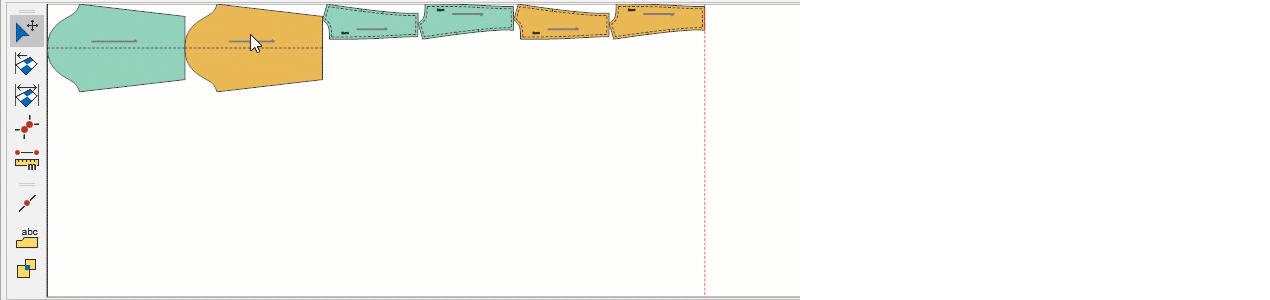
If desired, the piece can be moved to the required position by holding down the right mouse button, which displays a direction line.
By holding down the left mouse button, the piece can be dragged to any position in the marker area. During this process, it can also be placed on top of other pieces if needed.
For a piece to overlap another, the Prevent Overlap ![]() button must be deactivated.
button must be deactivated.
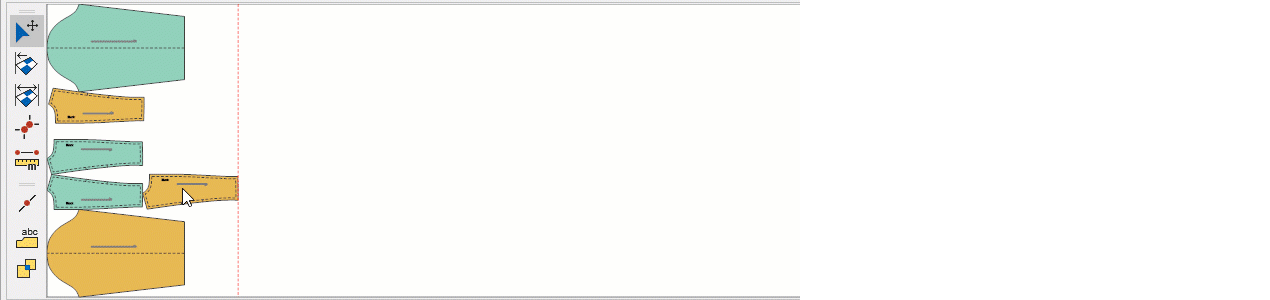
When the Prevent Overlap ![]() button is active, if a piece moved with the mouse is placed on top of another piece in the marker area, it will automatically return to its original position.
button is active, if a piece moved with the mouse is placed on top of another piece in the marker area, it will automatically return to its original position.

![]() If you want the moved piece to overlap another piece, the Prevent Overlap
If you want the moved piece to overlap another piece, the Prevent Overlap ![]() button must be deactivated.
button must be deactivated.