DesignCad
- Started
- What's New V.4.7
- Getting Started
- Home Screen
- Dxf Send/Receive
- Model Design
- Point Operations
- Grading
- Pieces Operations
- Plot Piece
- Print Piece
- Measurement
- Sewing Processes
- Dart/Pleat Operations
- Internal Shape / Internal Point
- Marker Operations
- Marker Print
- Super Marker
- Technical Card Operations
- Cost
- Plot Marker
- Options
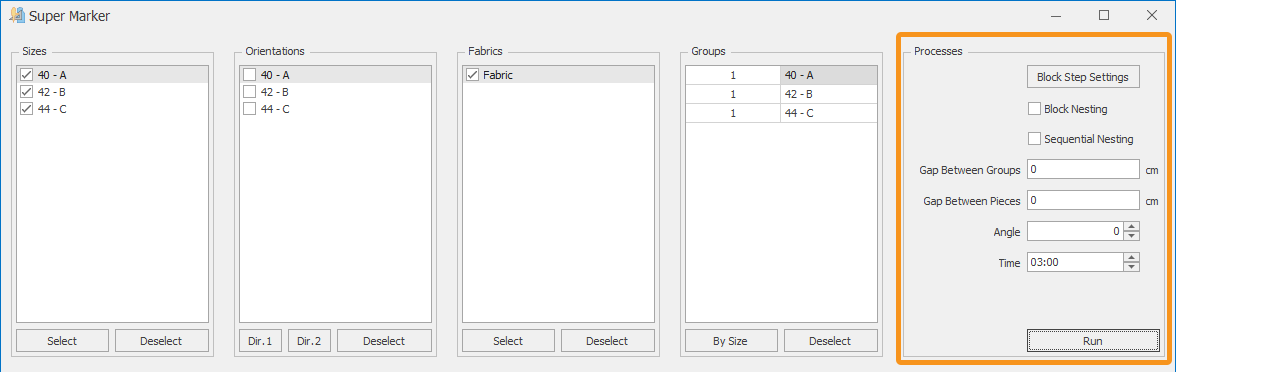
Super Marker Processes
After the selections and piece operations are completed, this is the section where additional operations are performed if necessary and where the super marker process is started.
![]() Block Placement Settings are used to add lines to areas where pieces are not allowed during the super marker placement.
Block Placement Settings are used to add lines to areas where pieces are not allowed during the super marker placement.
In the window that opens:
- From the Settings section, enter the distance (spacing between two lines) and line thickness values, then click the Add button to insert them into the marker.
- Use the Remove button to delete the selected line, or the Clear button to erase all lines.
- Confirm the action with Ok.
![]() If the Block Nesting checkbox is selected in the Super Marker window, the super marker operates in blocked mode.
If the Block Nesting checkbox is selected in the Super Marker window, the super marker operates in blocked mode.
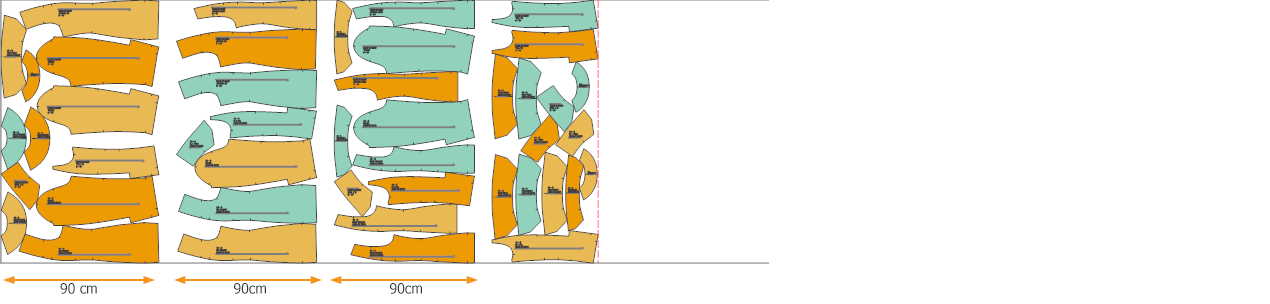
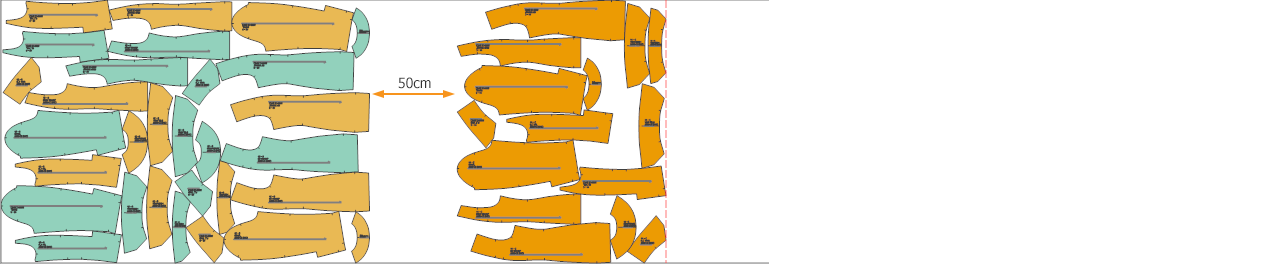
![]() If grouped placement is to be performed and spacing is required between sizes, a spacing value is entered in the Gap Between Groups section.
If grouped placement is to be performed and spacing is required between sizes, a spacing value is entered in the Gap Between Groups section.
![]() In the Gap Between Pieces section, the entered value determines the amount of spacing applied between pieces in the marker plan.
In the Gap Between Pieces section, the entered value determines the amount of spacing applied between pieces in the marker plan.
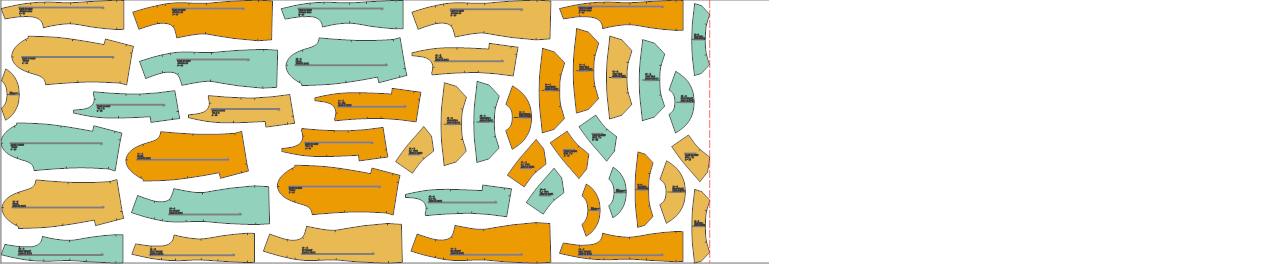
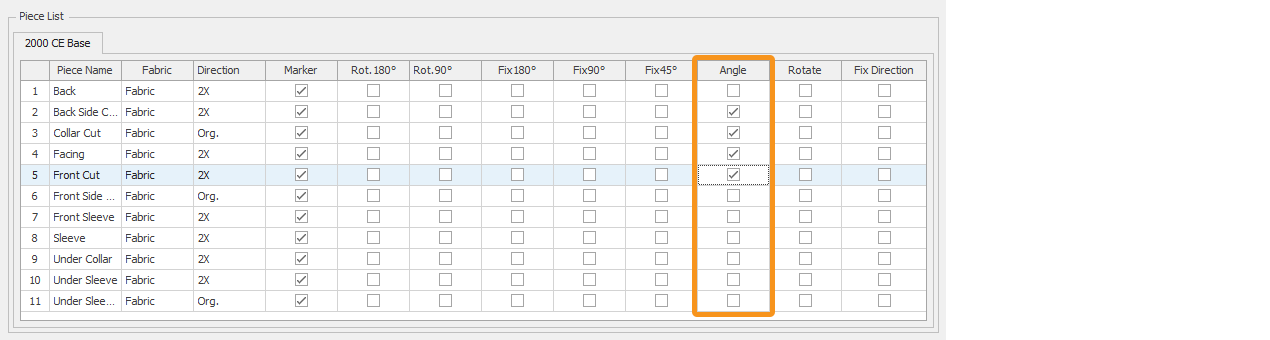
![]() In the Angle section, each piece selected in the piece list of the marker is rotated by the entered angle value relative to its grainline, either clockwise or counterclockwise, to achieve the most optimal marker.
In the Angle section, each piece selected in the piece list of the marker is rotated by the entered angle value relative to its grainline, either clockwise or counterclockwise, to achieve the most optimal marker.

From the Piece List section, the pieces that will be rotated at an angle must be selected.
Tüm ayarlamalar yapıldıktan sonra Çalıştır ile süper pastal çalıştırılır.