DesignCad
- Started
- What's New V.4.7
- Getting Started
- Home Screen
- Dxf Send/Receive
- Model Design
- Point Operations
- Grading
- Pieces Operations
- Plot Piece
- Print Piece
- Measurement
- Sewing Processes
- Dart/Pleat Operations
- Internal Shape / Internal Point
- Marker Operations
- Marker Print
- Super Marker
- Technical Card Operations
- Cost
- Plot Marker
- Options
Fabric Processes
Change Fabric Width
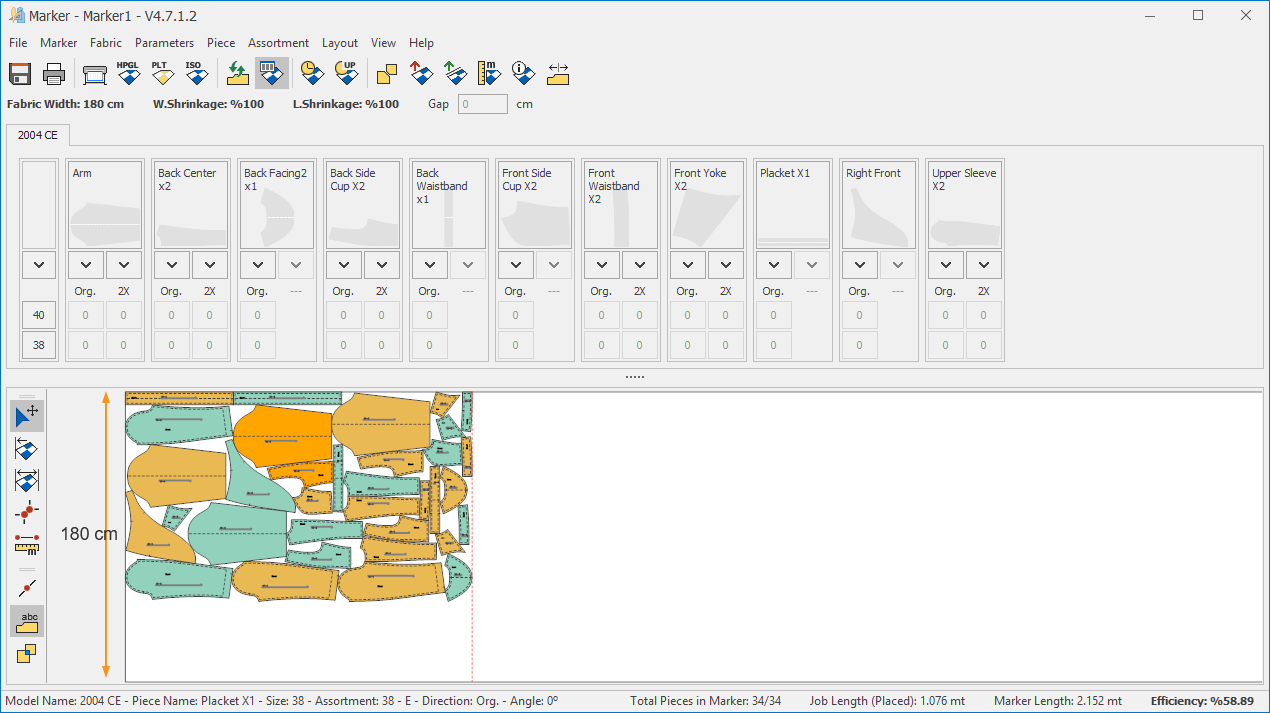
This function is used to modify the initial fabric width value entered during the creation of a new marker.
From the Fabric menu, click Change Fabric Width. ![]() (Shortcut: M)
(Shortcut: M)

In the window that opens, enter the new fabric width value and confirm with Ok.

The fabric width will be updated according to the entered value. (Since the default origin is the top-left corner of the marker screen, the adjustment—whether increasing or decreasing—will take place from the bottom side of the page.)
Create Line in Marker
This function is used to create imaginary lines along the X and Y axes in the Marker screen. It is especially useful in marker layouts that require alignment or reference tracking. Any number of imaginary lines can be created at desired intervals in the marker.
From the Fabric menu, click Line > Create.

In the window that opens, specify how many lines to add on the horizontal (X-axis) and/or vertical (Y-axis). Enter the desired number in the Quantity field and the spacing values in the Range field. Confirm the operation by clicking Ok.

You can enter values for both axes to add lines on each, or add lines on a single axis only.
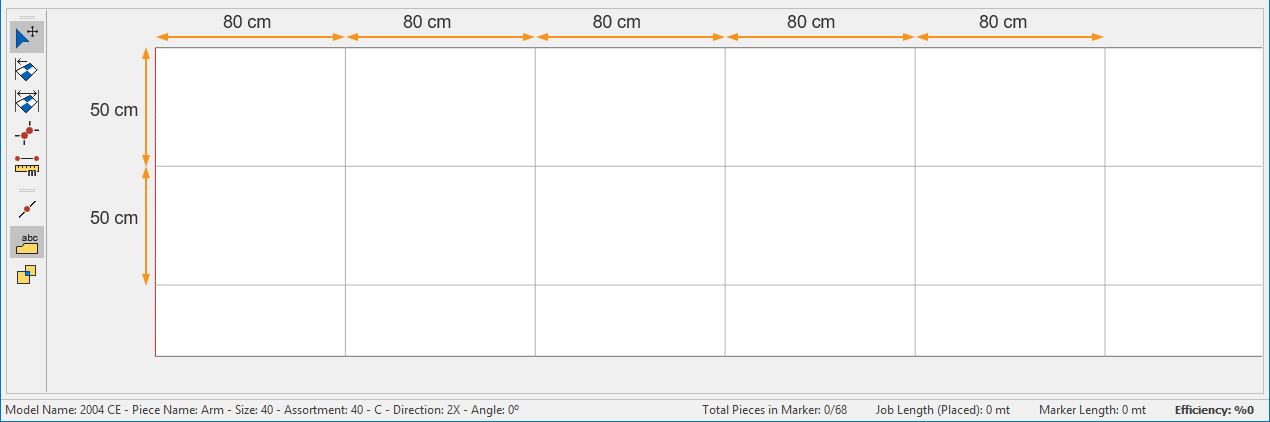
![]() Adding lines on the horizontal axis is performed from the top edge of the marker downward, according to the specified measurement and quantity.
Adding lines on the horizontal axis is performed from the top edge of the marker downward, according to the specified measurement and quantity.
From the Line menu, you can use Delete Horizontal or Delete Vertical to remove lines on the desired axis. The Delete option removes all lines. When lines are deleted, the positions of the pieces remain unchanged.

In manual marker placement, when moving pieces using the arrow keys, the pieces move in alignment with these lines.