Dxf Send/Receive
Exporting Dxf
To send a model file created in DesignCad software to a different CAD software, the DXF format is used.
Follow these steps:
1.) The model to be sent as DXF is opened in the Pattern Design screen.
2.) In the Pattern Design screen, go to the File menu and click Export > DXF

As a result of this process, the DXF Export window will open.

| File Location | The location where the DXF file will be saved is selected. To do this, click the three dots on the right of the row, and from the window that opens, choose the target folder. |
| File Format | The file format for the sent DXF file is selected.
|
| Profile | You can modify the profile settings of the exported Aama/Dxf file.
|
Encoding
| If necessary, the language character set (encoding) for the exported DXF file is specified.
|
| Measurement Multiplier | In necessary cases, the scale factor of the exported DXF file can be changed. For example, if a scale factor of 10 is entered, 1 cm in the drawing will be saved as 10 cm. |
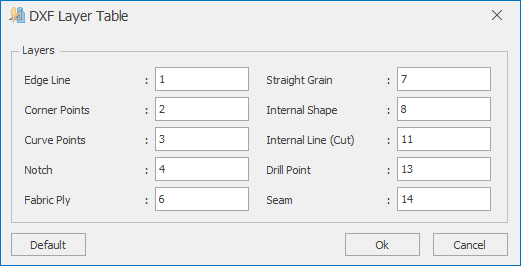
| Layer Table | It is a table that shows the layer values used during the Aama/DXF export. If necessary, these layer values can be modified in the file being prepared.
|
| Measurment File | If a series (measurement) file is also to be added to the prepared DXF file, the relevant checkbox should be marked. In this case, in addition to the DXF file, a series file containing the series values will also be created. This file will be saved in the "file name.rul" format. |
3.) Click Ok to prepare the DXF file.
Importing Dxf
To import DXF format patterns prepared in different CAD software into DesignCad, follow these steps:
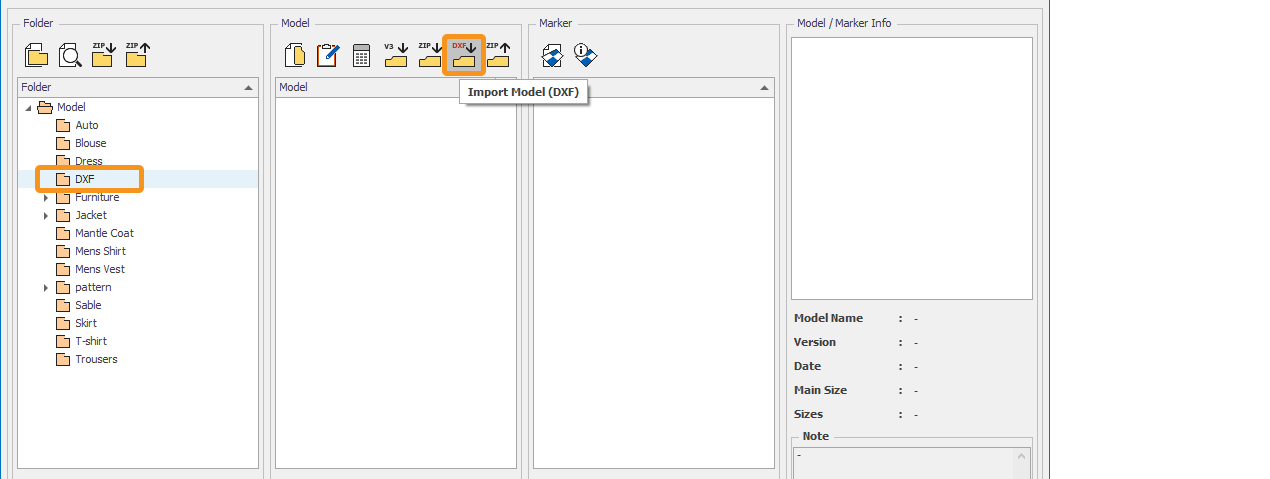
1.) In the main screen, select the folder where the DXF file will be imported. If the folder does not exist, you can create a new folder by clicking the "New Folder" button.
2.) Click on the Import Model (DXF) ![]() icon in the Model Column.
icon in the Model Column.
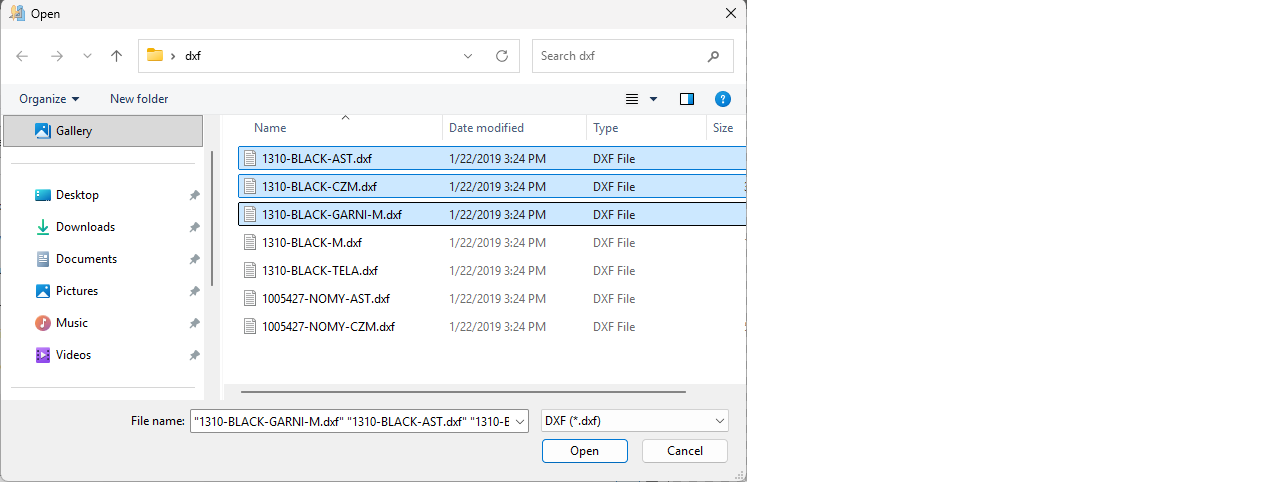
3.) When the DXF Import window opens, click the Add button and select the DXF file to be imported from the opened window.
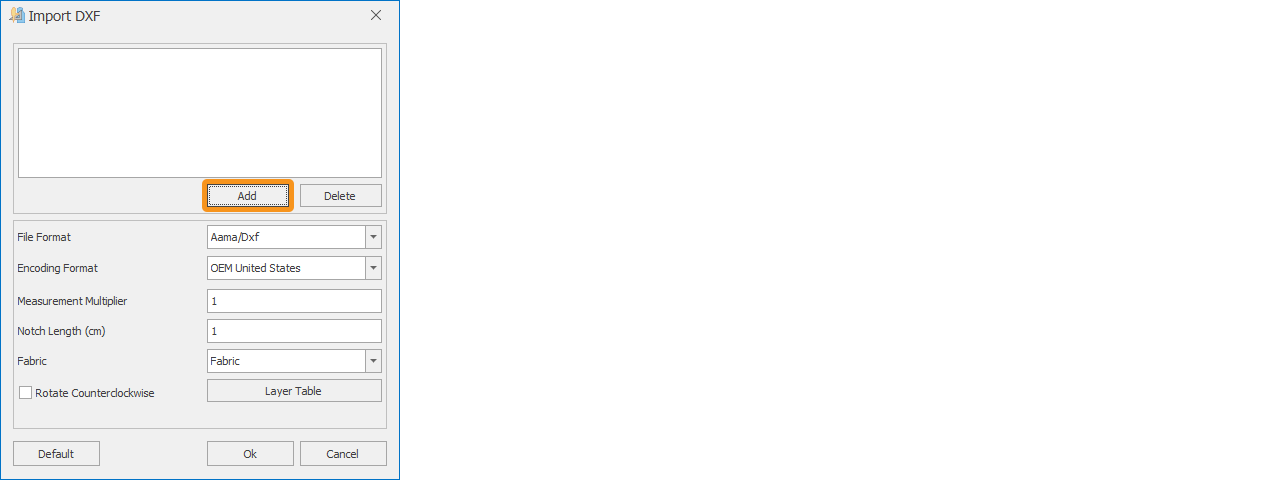
4.) After selecting the DXF file to be imported, click the Add button to transfer the file to the DXF Import window. If you want to select multiple files, you can hold down the Shift or Ctrl key on your keyboard.
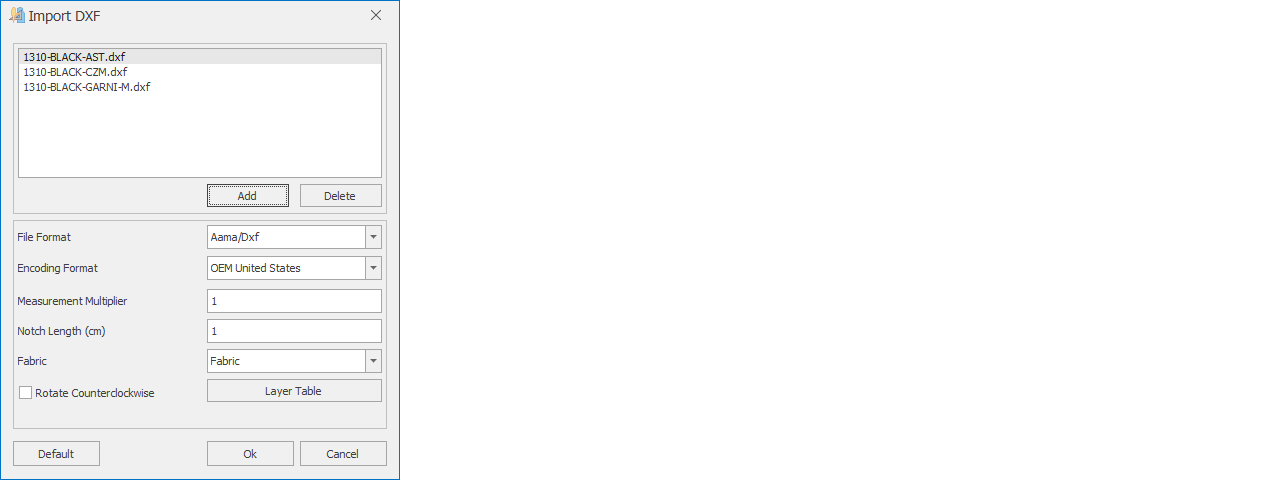
| File Format | The file format for the received DXF file is selected.
|
| Encoding | If necessary, the character set (encoding) of the received DXF file is selected.
|
| Measurement Multiplier | The scale factor of the received DXF file can be changed if needed. For example, if the DXF file is prepared in inches and needs to be converted to centimeters, a scale factor of 10 should be entered. |
| Cut Length (cm) | The length of the notches in the received DXF file is determined in this section. |
| Fabric | If desired, the same fabric name can be assigned to all pieces. |
| Flip Counterclockwise | If this box is checked, the patterns that are prepared counterclockwise will be corrected to be in a clockwise orientation. |
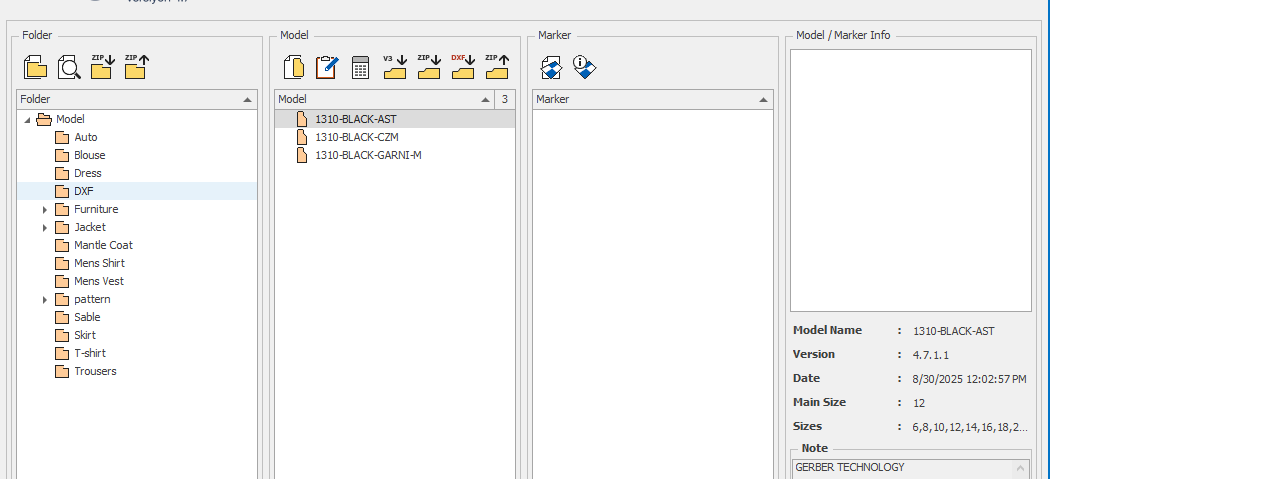
3.) Click the Ok button to import the DXF file.
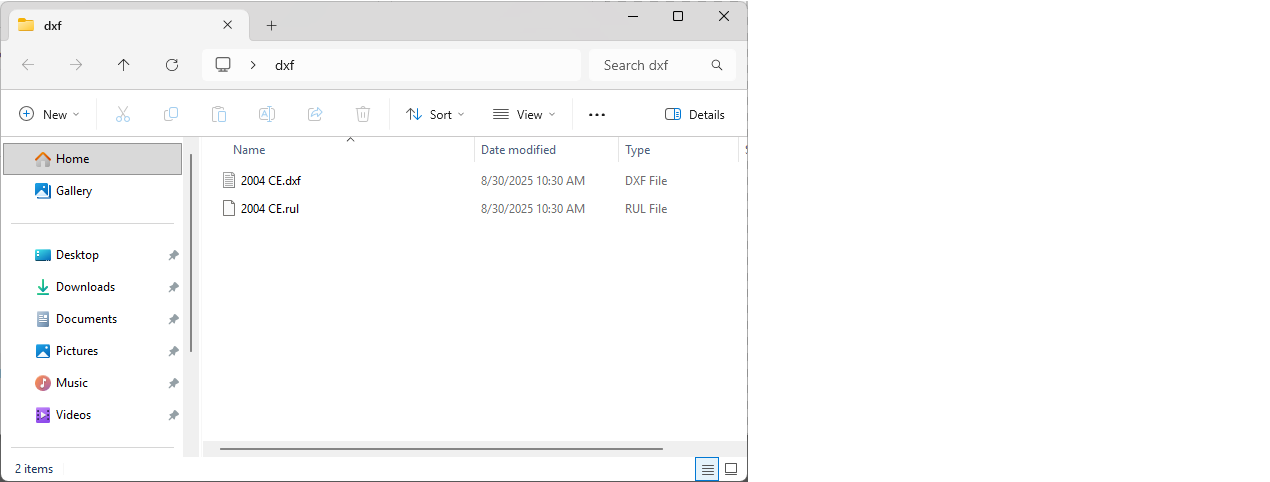
![]() The DXF file, along with any associated series file (with extensions .rul or .txt), should be in the same location.
The DXF file, along with any associated series file (with extensions .rul or .txt), should be in the same location.


