DesignCad
- Started
- What's New V.4.7
- Getting Started
- Home Screen
- Dxf Send/Receive
- Model Design
- Point Operations
- Grading
- Pieces Operations
- Plot Piece
- Print Piece
- Measurement
- Sewing Processes
- Dart/Pleat Operations
- Internal Shape / Internal Point
- Marker Operations
- Marker Print
- Super Marker
- Technical Card Operations
- Cost
- Plot Marker
- Options
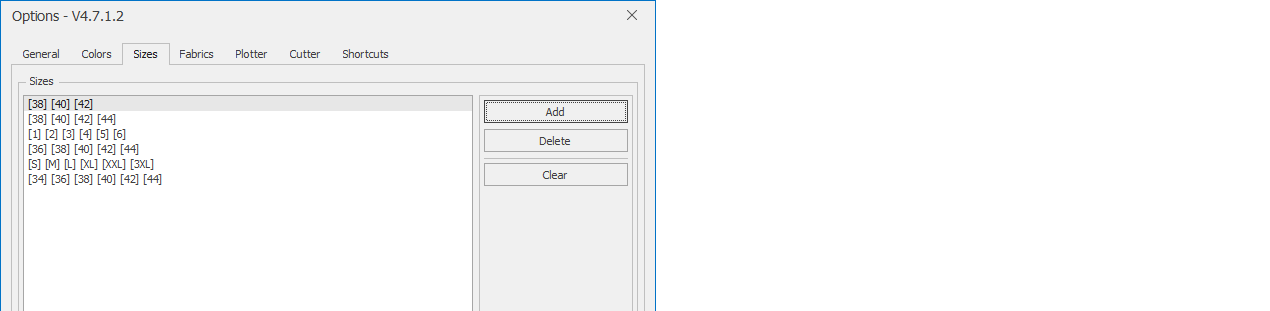
Sizes
During the creation of a new model, when sizes are added to the model or when a model is imported from another DesignCad software, the sizes within the imported models are automatically saved and stored in the DesignCad library for later use.
From the opened window, a new size table can be created, deleted, or unused sizes in the models can be cleared.
All pages are opened from the File menu using the Options ![]() icon, and the Sizes tab is selected.
icon, and the Sizes tab is selected.
To add a new size template to the library, click the Add button.
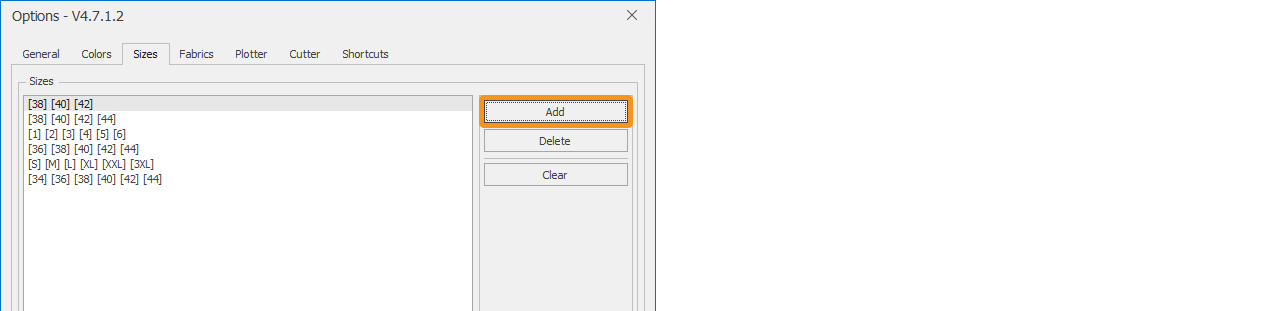
The New Size Template window will open.

- In the opened window, type the desired size in the Size Name field.
- The entered size is added by clicking the Add button or pressing the Enter key.
- If the order of the entered sizes needs to be changed, the size rows can be selected with the mouse and dragged to the desired position.
- Unwanted sizes can be deleted with the X button.
- After entering the desired sizes, confirm by clicking Save.
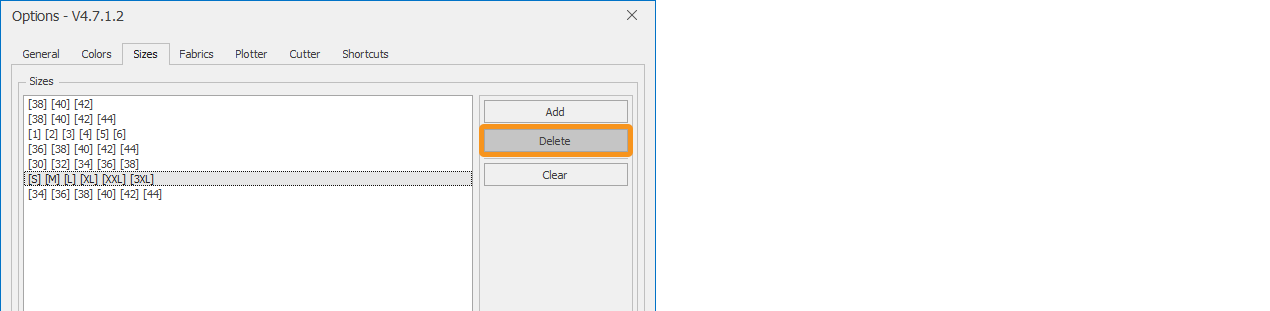
To delete a size, select the size to be removed from the list and click the Delete button.
With the Clear button, sizes that were added to the library but later deleted from the model and are not used in any model are removed.
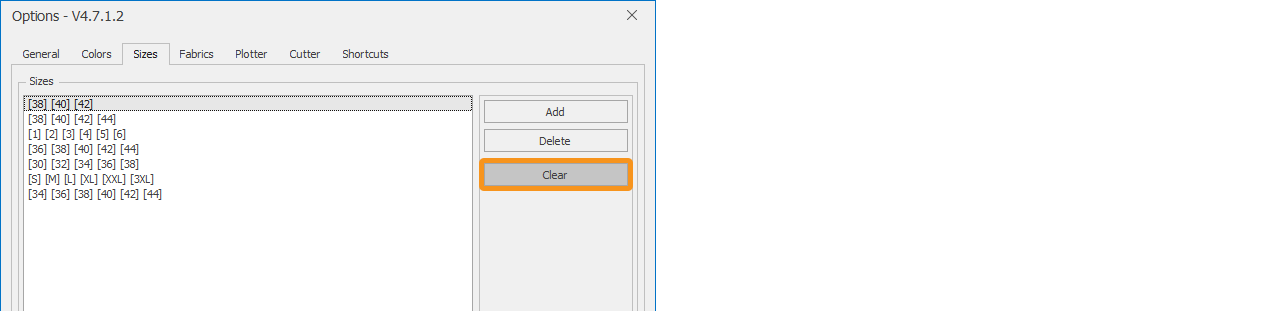
In the opened window, click Yes to start the process. (Depending on the library size, this process may take some time.)
