Plot Piece
Used to send the model pieces to drawing from the Pattern Design screen.
1.) In the Pattern Design screen, select the piece or pieces to be drawn using the mouse.
2.) From the File menu, click Draw Pieces (keyboard shortcut: P).
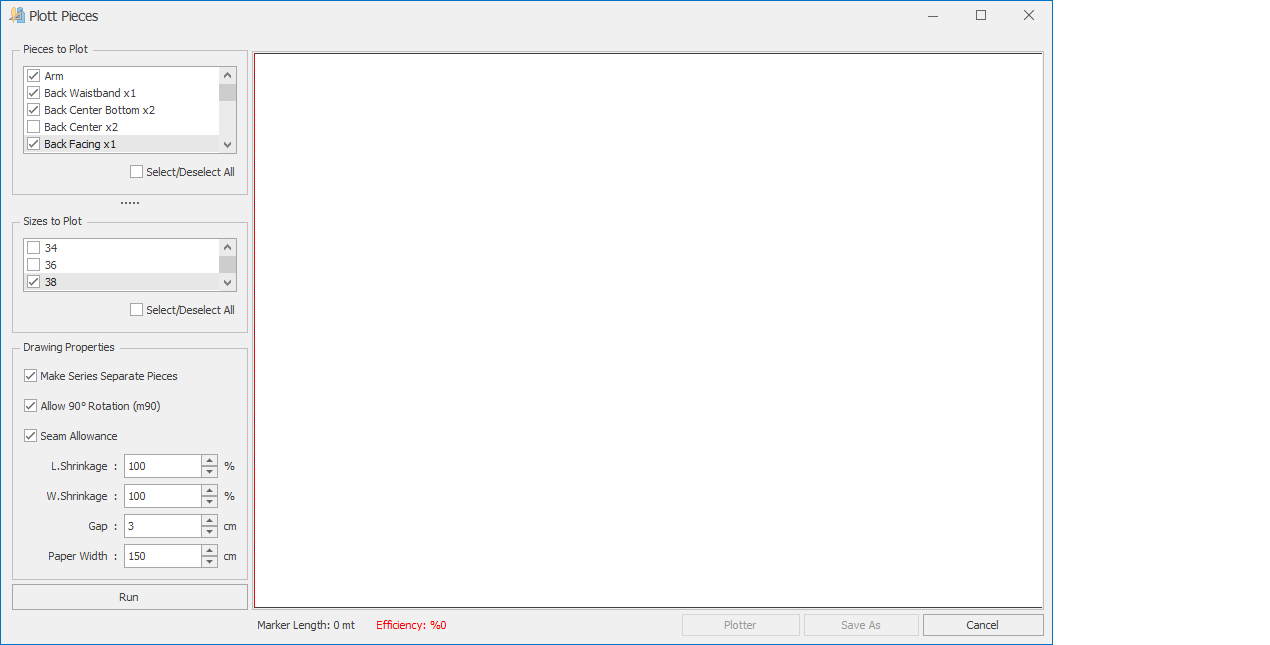
3.) In the screen that opens, the pieces you selected will appear in the Pieces to Plott section on the left menu, and the sizes will appear in the Sizes to Plott section. (If no sizes are active in the Pattern Design screen, only the base size will be displayed.)
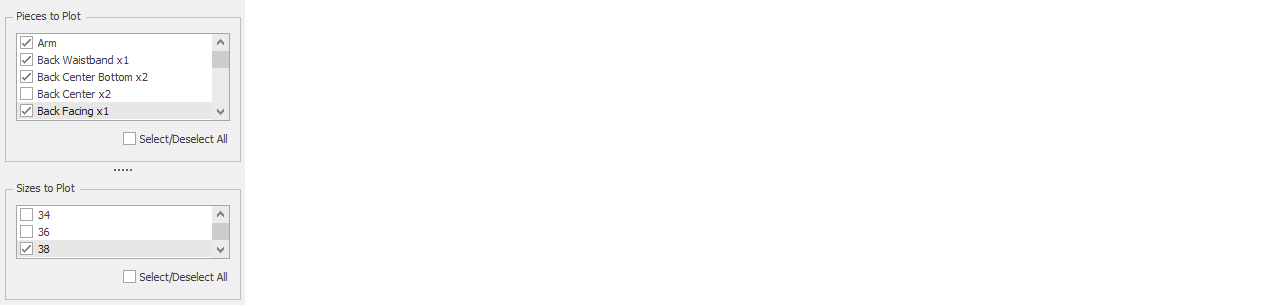
![]() At the bottom of both sections, you can use the Select/Deselect All checkbox to either select all items or clear all selections.
At the bottom of both sections, you can use the Select/Deselect All checkbox to either select all items or clear all selections.
From the Drawing Properties section, the desired settings are configured before automatic placement.

Make Series Separate Pieces: If checked, the pieces are separated into their gradings. If unchecked, the pieces are sent to drawing with their grading applied. (Default: selected)
Allow Rotate 90° (m90): If checked, some pieces may be rotated 90° during processing in order to shorten the marker length, depending on how they fit. (Default: selected)
Seam Allowance: If checked, pieces are sent to drawing with seams shown open. If unchecked, only the main outline of the piece is sent to drawing, even if the piece has seams. (Default: selected)
L. Shrink and W. Shrink: Assign shrinkage and/or relaxation values as a percentage in the drawing file. (Default: 100%)
Gap: Defines the spacing value between pieces. (Default: 3 cm)
Paper Width: Defines the width of the paper to be plotted. (Default: 150 cm)
4.) With the Run button, the pieces are automatically compressed, and with the Stop button, the placement process is halted.
After the initial placement is completed, you can zoom in on the screen with the mouse, and manually arrange the pieces using the mouse or the arrow keys on the keyboard, just like in the marker screen.
![]() If desired, you can add or remove piece sizes in this screen, or make changes in the Drawing Properties section. To apply these changes to the marker, you need to run the process again by clicking the Run button.
If desired, you can add or remove piece sizes in this screen, or make changes in the Drawing Properties section. To apply these changes to the marker, you need to run the process again by clicking the Run button.
5.) After the desired arrangement is completed, click the Plotter button to send the prepared drawing file to plotting (default folder: C:\HPGL). With the Save As button, you can save the created marker file to any location on your computer.