Grain Line
Add Grain Line
When a new piece is created or a pattern is imported as a DXF file, a grain line is automatically generated within the piece. However, in some cases—such as when a pattern is imported from Fotodijit without a grain line, or when a second grain line needs to be added to the piece—the Add Grain Line feature can be used.
1.) In the Pattern Design screen, click Grain Line > Add Grain Line ![]()

2.) Inside the piece, use the mouse to select the starting point of the grain line, drag the grain line to the desired length, and click again to fix it. If desired, a grain line can also be added between two selected points using the Space key.

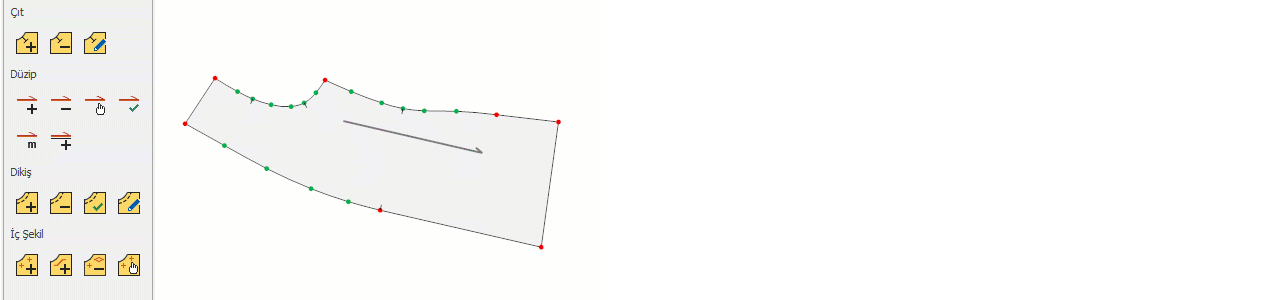
![]() In the marker output, the piece information is printed on the grain line. Therefore, the position of the grain line should be properly adjusted on the piece.
In the marker output, the piece information is printed on the grain line. Therefore, the position of the grain line should be properly adjusted on the piece.
Select Grain Line
When a new grain line is added to a piece, it must be confirmed in order to be used.
1.) In the Pattern Design screen, click Grain Line > Select Grain Line ![]()
2.) Inside the piece, select the inactive grain line with the mouse and confirm it.

![]() The piece is rotated on the page according to the newly selected grain line. The old grain line is not deleted but becomes inactive and its color changes. (See the Options section for grain line colors.)
The piece is rotated on the page according to the newly selected grain line. The old grain line is not deleted but becomes inactive and its color changes. (See the Options section for grain line colors.)
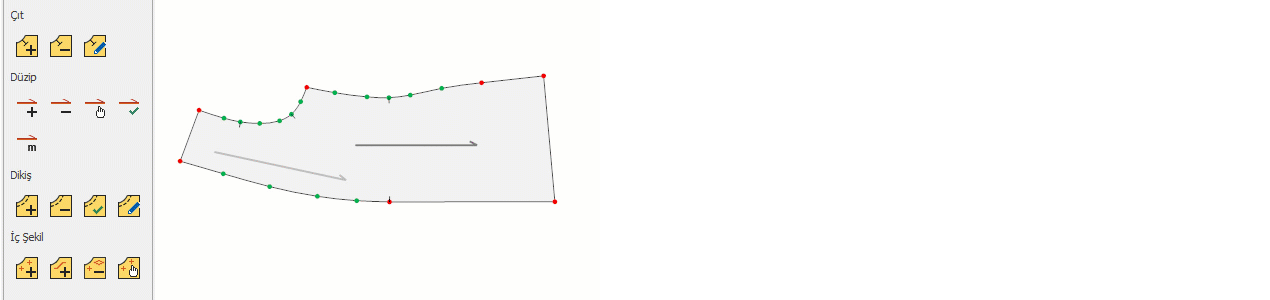
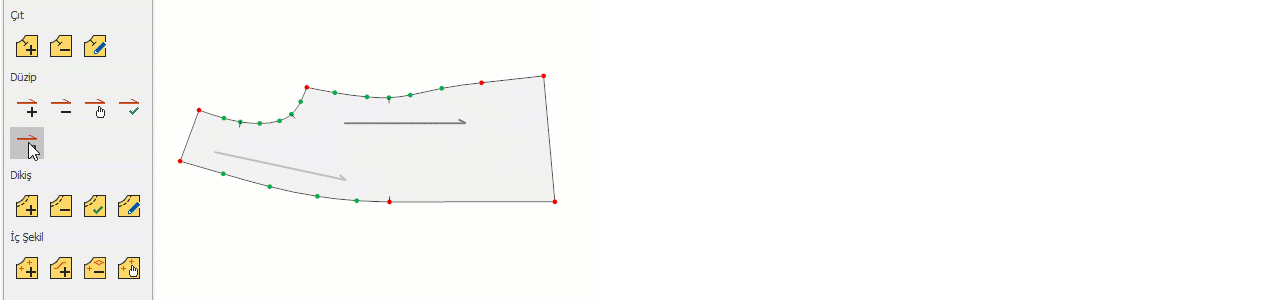
Add To Horizontal
Adds a grain line parallel to the X-axis of the piece.
1.) In the Pattern Design screen, select the piece to which the grain line will be added with the mouse.
2.) From the Grain Line menu, click Add To Horizontal ![]() The added grain line is assigned to the piece as the default grain line.
The added grain line is assigned to the piece as the default grain line.
Move Grain Line
There are three different methods to move a grain line within a piece.
In the Pattern Design screen, click Grain Line > Move Grain Line ![]()
1.) Move with Mouse: Select the grain line with the mouse and drag it to the desired position. Confirm the operation by pressing the right mouse button or the Enter key.
2.) ![]() Move with Arrow Keys: After selecting the grain line, move it using the keyboard arrow keys:
Move with Arrow Keys: After selecting the grain line, move it using the keyboard arrow keys:
- Arrow keys: 1 cm step
- Ctrl + Shift + Arrow keys: 0.5 cm step
- Ctrl + Arrow keys: 0.1 cm step
- Shift + Arrow keys: 0.01 cm step
Confirm the operation by pressing the right mouse button or the Enter key.
3.) Move with Measurement: Press the shortcut key (M) for measured movement. In the window that opens, enter the distances to move the grain line along the X and Y axes, and confirm with Ok.
Grain Line Length
Used to change the length of a grain line.
1.) In the Pattern Design screen, click Grain Line > Grain Line Length ![]()
2.) Select the grain line with the mouse.
3.) ![]() Use the keyboard arrow keys to shorten or extend the grain line. (Up arrow extends, Down arrow shortens.) Confirm the operation by pressing the right mouse button or the Enter key.
Use the keyboard arrow keys to shorten or extend the grain line. (Up arrow extends, Down arrow shortens.) Confirm the operation by pressing the right mouse button or the Enter key.
Delete Grain Line
Used to delete a grain line.
1.) In the Pattern Design screen, click Grain Line > Delete Grain Line ![]()
2.) Click on the grain line to be deleted with the mouse and delete it. (The default grain line cannot be deleted.)
