Pattern Design Questions
This section includes questions related to the Pattern Design department.
In the pattern design screen, the part to be serialized is selected.
Click on Separate Pieces ![]() from the Layout menu or click on the part with the right mouse button and click on Separate Pieces from the window that opens.
from the Layout menu or click on the part with the right mouse button and click on Separate Pieces from the window that opens.
The serialized parts are added to both the parts menu and the work screen in the Part Name_Size format.
- On the Pattern Design screen, click Assemble Parts
 from the Part menu.
 - Select the joining point (Point 1) of the first part to be joined. Then the joining point (Point 2) of the second part is selected.
- After the second point is selected, the Join Parts Window opens to determine which side to join. The screen shows the position of the parts to be joined. (During this process, the part where point 1 is selected remains fixed.)
In the window, select the line to be joined:
- Next Line: Join to the 1st point's clockwise line.
- To Previous Line: Join to the 1st point's counterclockwise line.
After selecting which line to merge to, click ok button to confirm the operation.
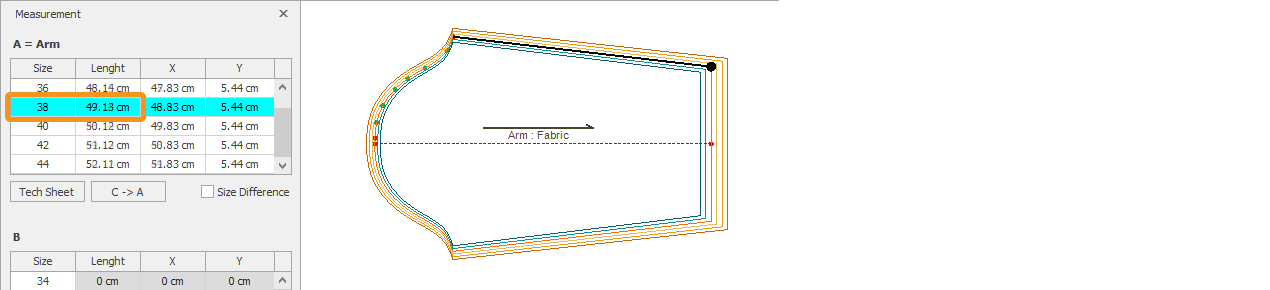
This operation transfers the measurement of the selected size to the main size without changing the main size name, and the series increases or decreases according to the new size arrangement.


In the pop-up window, a New Main Size is selected and confirmed by clicking OK.

![]() At the end of this process, the technical sheet and marker files belonging to the model will be deleted.
At the end of this process, the technical sheet and marker files belonging to the model will be deleted.
The first window is passed with the Yes command, and the second window with the No command.


For example, if the measurement of a line in size 38 is 47.14 cm, after this operation, the measurement of size 38 becomes 49.13 cm.

The newly added sizes are automatically adjusted by DesignCad.