DesignCad
- Started
- What's New V.4.7
- Getting Started
- Home Screen
- Dxf Send/Receive
- Model Design
- Point Operations
- Grading
- Pieces Operations
- Plot Piece
- Print Piece
- Measurement
- Sewing Processes
- Dart/Pleat Operations
- Internal Shape / Internal Point
- Marker Operations
- Marker Print
- Super Marker
- Technical Card Operations
- Cost
- Plot Marker
- Options
Ver.3 Model File Import
To convert model files prepared in DesignCad version 3 to version 4.7, follow these steps:
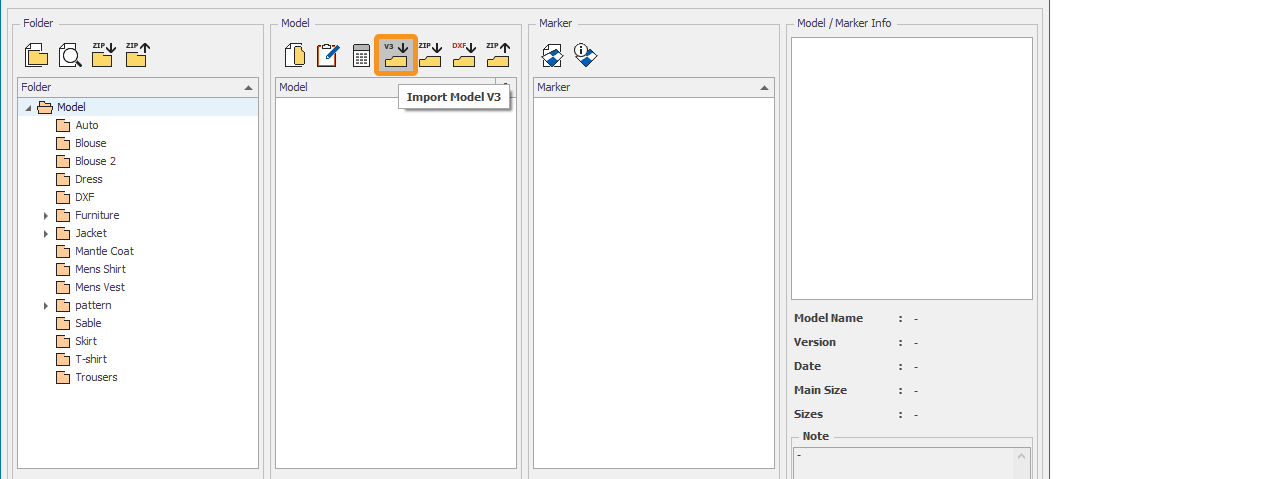
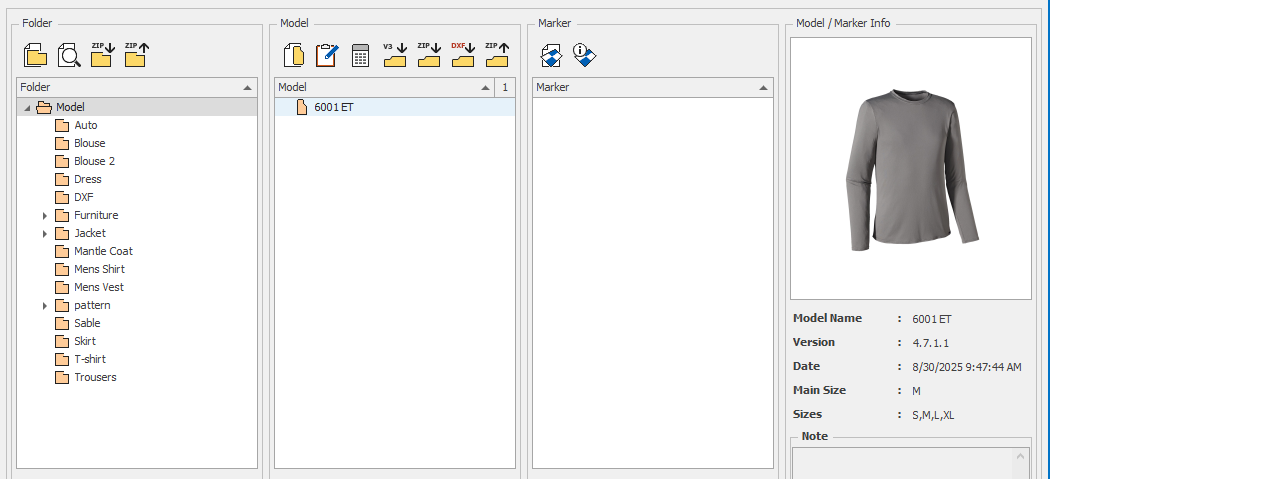
1.) In the main screen, select the folder where the model will be transferred (or create a new folder).
2.) Click the Import Model V3 ![]() icon in the Model column.
icon in the Model column.
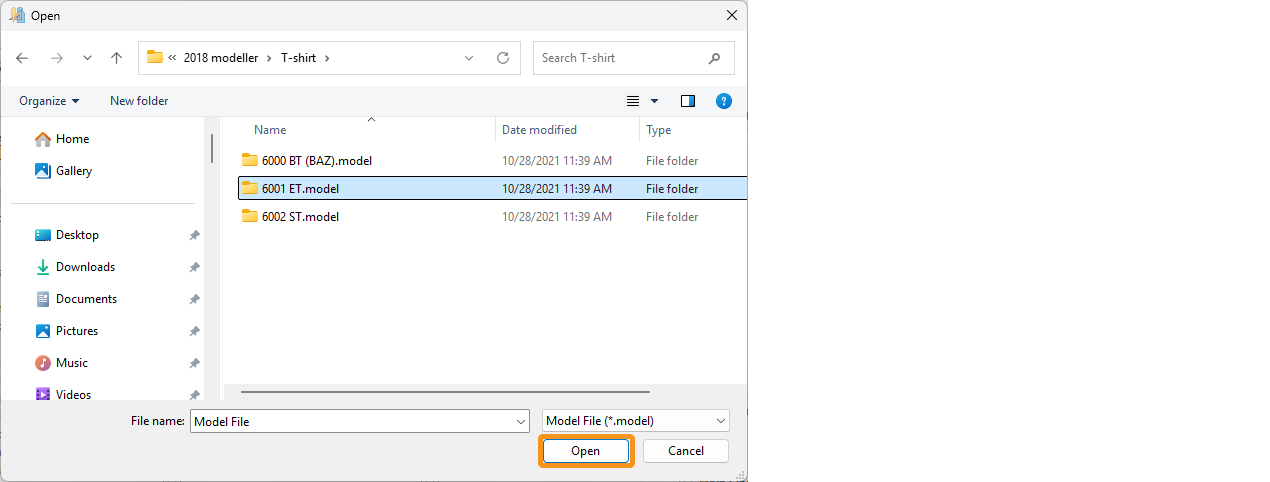
3.) In the opened window, select the version 3 file to be converted (for example: 6001 ET.model).
4.) Click the Open button to enter the selected model file.
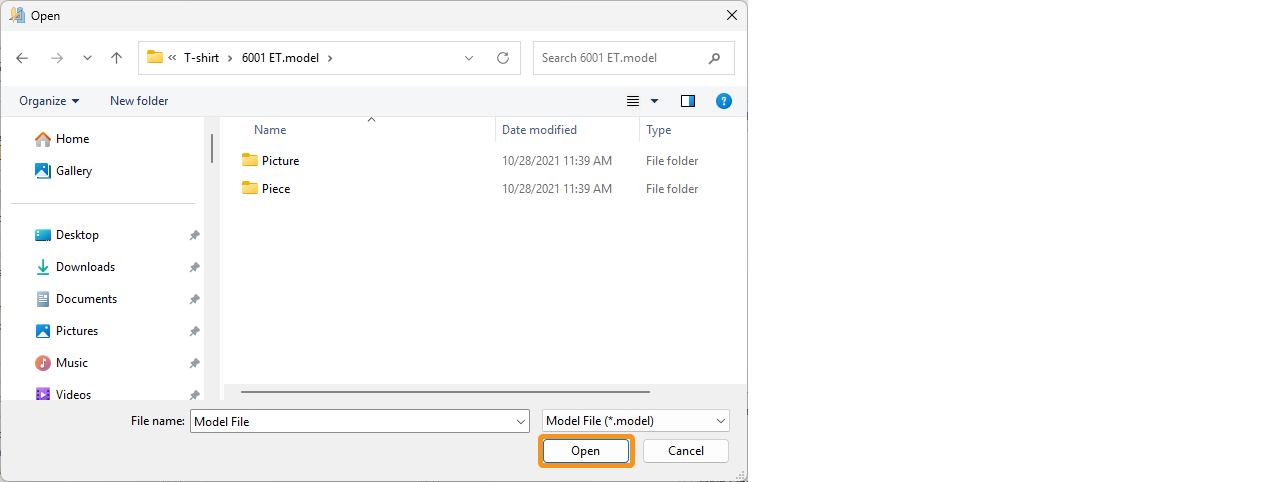
5.) Click the Open button again, and the model file will be converted to version 4.7 and saved to the library.
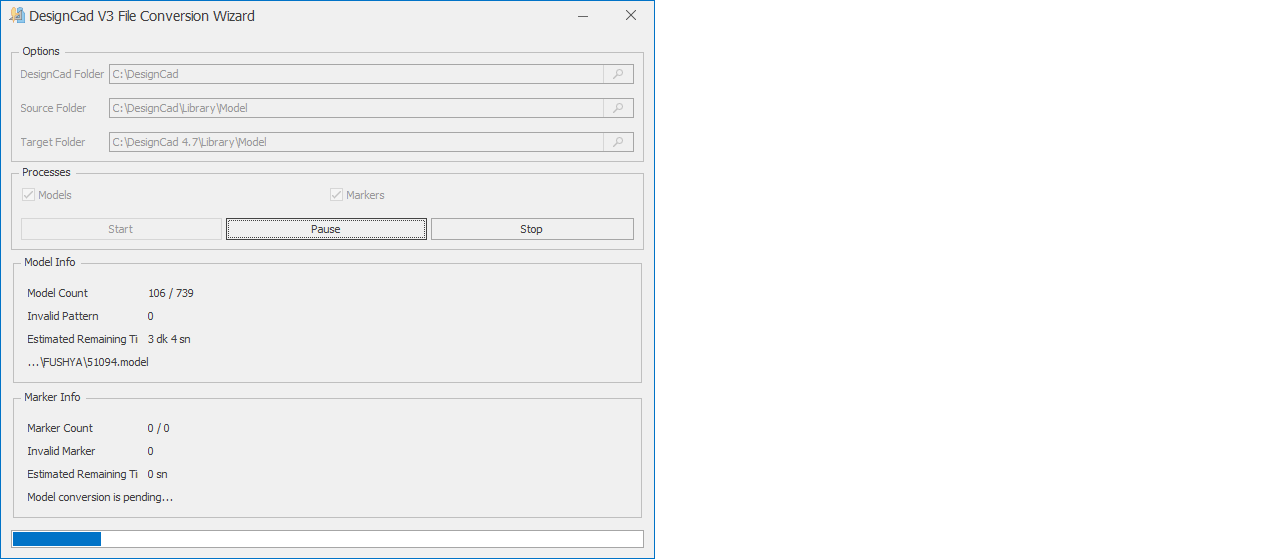
Transferring a Model Folder from DesignCad V3 to V4.7
To transfer a model folder created in DesignCad version 3 to version 4.7, follow the steps below:
1.) On the main screen, create a new folder for the model to be imported.
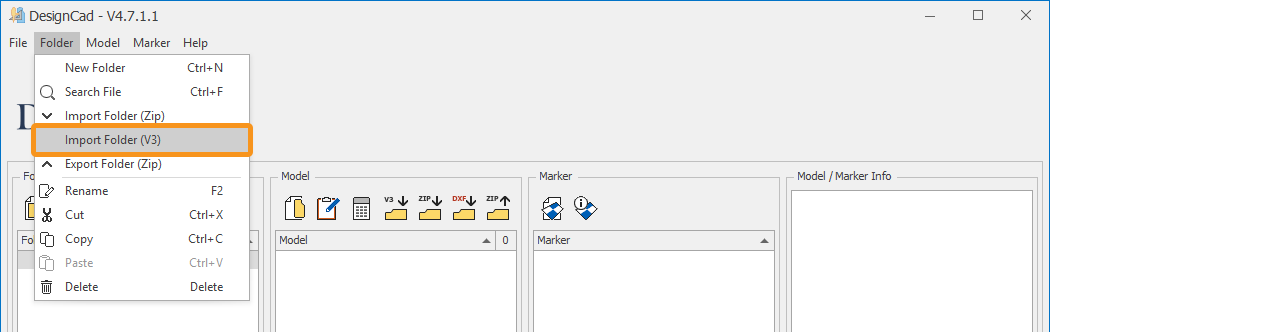
2.) Select the newly created folder and click the Import Folder (V3) function from the Folder menu.
3.) In the window that opens, select the model folder created in DesignCad version 3.
The folder path of version 3 is entered in the Designcad folder section.
In the Source Folder section, the library path containing the models to be converted from version 3 to 4.7 is entered.
In the Target Folder section, the model library path of Designcad version 4.7 is entered.
The process is started by clicking the Start button in the Processes section.
If desired, model or marker selection can be made from the Processes section.
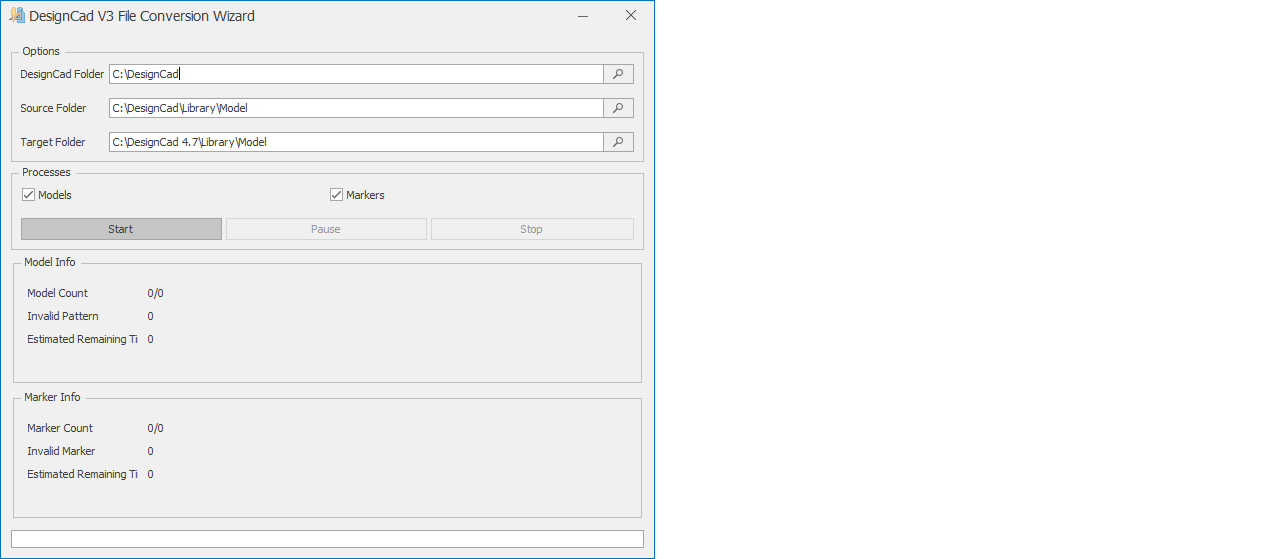
You can monitor the process duration from the window. The duration may vary depending on the size of the model folder.